Webhooks Tutorial
In this tutorial, we'll create a Node.js Express app that handles webhook callbacks and uses ngrok (opens in a new tab) (ngrok.com) to expose the app to the Internet. Then, we'll create a webhook and observe the callback using the ngrok web interface when the event is triggered.
Prerequisites
- A store or app API account with OAuth scopes that include Information & Settings read-only and Products read-only.
- Webhooks Overview
- Familiarity with working in the terminal
- Familiarity working with
nodeandnpm
Create an Express app
First, let's make a webhooks-test directory and initialize a Node.js Express app inside of it. To do so, run the following commands in the terminal.
mkdir webhooks-test         # Create project directory

cd webhooks-test            # Move into project directory

npm init                    # Initialize a Node.js project (hit return to accept the default values)

touch index.js              # Create main app script file
Then, copy and paste the following JavaScript code into index.js.
const express = require('express');
const ngrok = require('ngrok')
const app = express();

// when there's a post request to /webhooks...
app.post('/webhooks', function (req, res) {

    // respond with 200 OK
    res.send('OK');
});

// listen to port 3000
app.listen(3000, function () {
    console.log('Listening for webhooks on port 3000');

    // start ngrok and create a tunnel to port 3000
    (async function() {
        const url = await ngrok.connect(3000);
    })();
})
Then download and install the latest supported version of ngrok (opens in a new tab).
This app listens to requests on port 3000, then responds with a 200 status once it receives a POST request to /webhooks.
- Ngrok is a helpful tool for viewing webhook callbacks BigCommerce sends to your app. Ngrok creates a publicly accessible tunnel URL to an application running on your machine. When using ngrok you can view HTTP request details in its web interface.
- For simplicity, this tutorial uses an npm package (opens in a new tab) to run ngrok. For official ngrok usage and installation instructions, visit ngrok.com (opens in a new tab).
The following commands show the steps to install ngrok using Homebrew.
brew install ngrok/ngrok/ngrok
ngrok config add-authtoken <TOKEN>
You can obtain your authtoken by going to https://dashboard.ngrok.com/get-started/your-authtoken (opens in a new tab).
Start the app
To start the app, run the following commands:
cd ~/path/to/webhooks-test # Make sure you're in your webhooks-test project directory
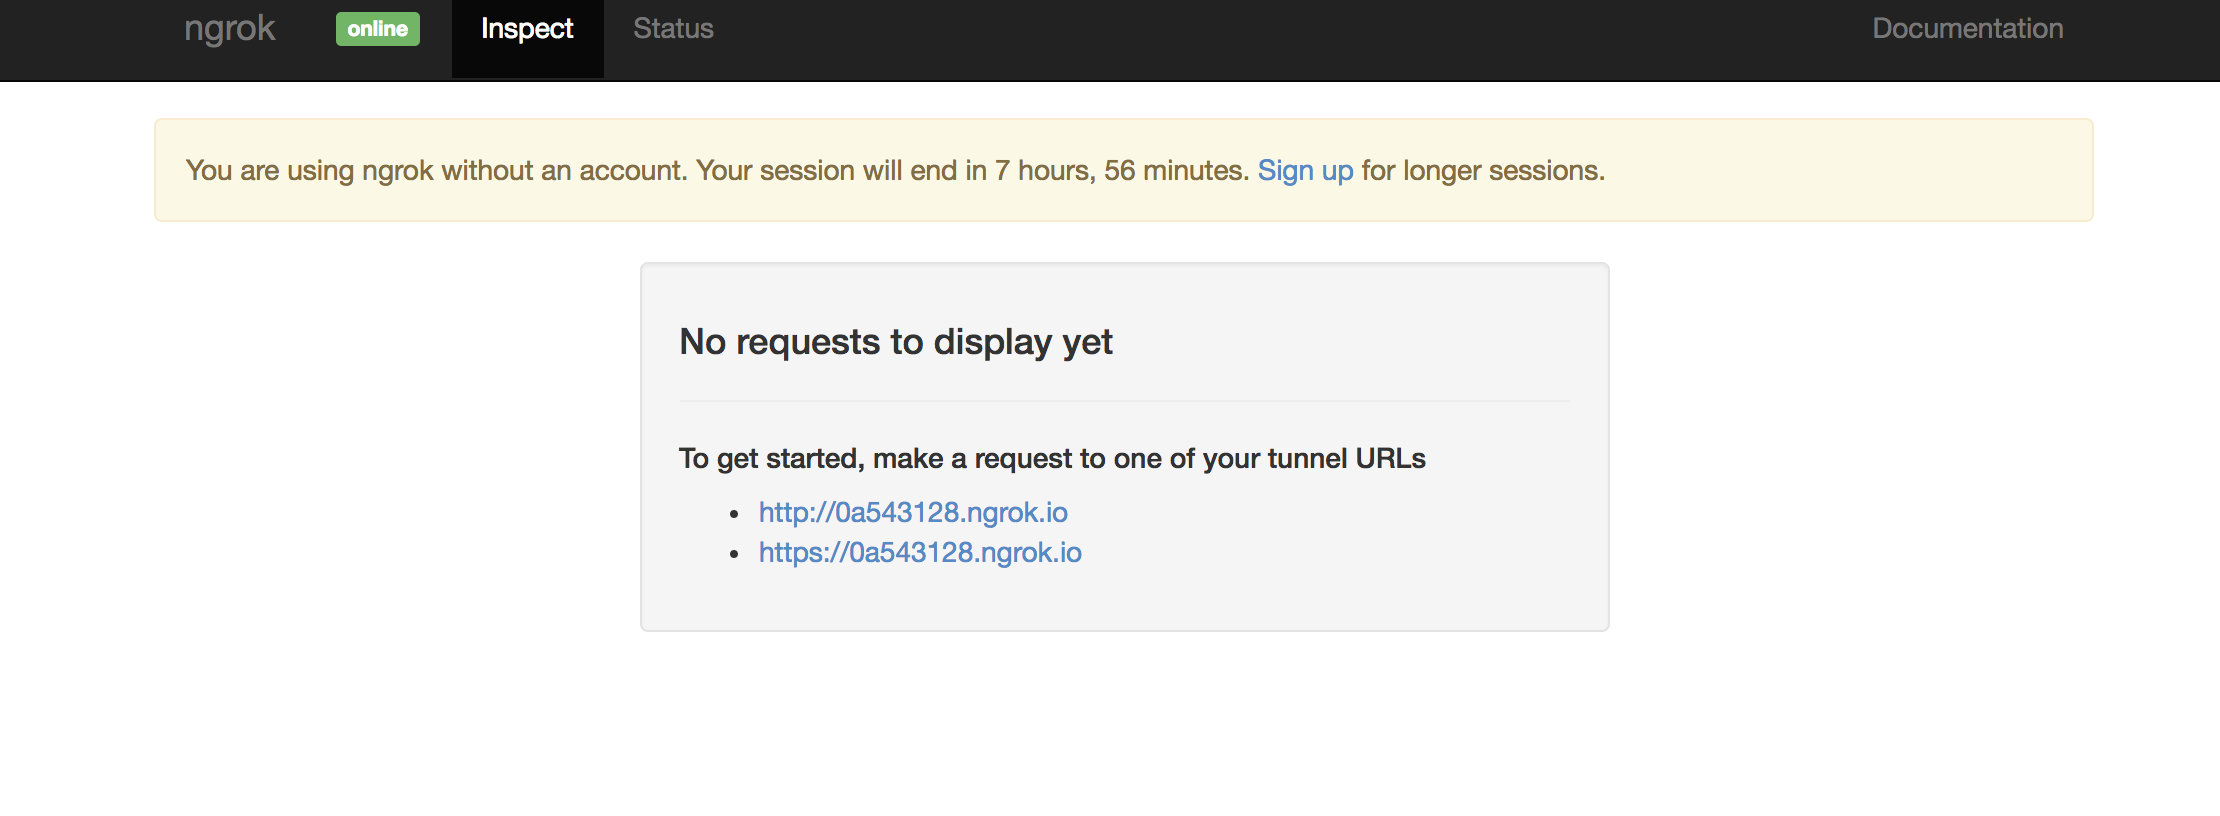
ngrok http http://localhost:8080 # Start the appNavigate to http://localhost:4040/ in your browser. You should see the ngrok web interface like shown in the image below. Copy the HTTPS tunnel URL and keep the app running.
Create a webhook
Now, we'll create a webhook that subscribes to the store/product/updated webhook event. To do so, send a POST request to /stores/{{STORE_HASH}}/v3/hooks.
POST https://api.bigcommerce.com/stores/{{STORE_HASH}}/v3/hooks
X-Auth-Token: {{ACCESS_TOKEN}}
Accept: application/json
Content-Type: application/json

{
 "scope": "store/product/updated",
 "destination": "https://6a35e97b.ngrok.io/webhooks", # Replace 6a35e97b.ngrok.io with your HTTPS tunnel URL
 "is_active": true
}- Be sure to replace
6a35e97b.ngrok.iowith your ngrok HTTPS tunnel URL and structure the destination URL as follows:https://{ngrok_url}/webhooks. - Currently, BigCommerce does not support destination URLs served over custom HTTPS ports. Use the default HTTPS port 443.
Trigger the webhook event
Webhooks fire when shoppers perform actions on the storefront and when users make changes in the control panel. They will also fire when you make changes using an API. Trigger the webhook you just created by performing the following actions in your BigCommerce control panel:
- Navigate to Products > View (opens in a new tab).
- Edit a product and change something like name or description.
- Click Save.
Now, visit the ngrok web interface address (http://127.0.0.1:4040) and check for a 200 response.

The summary shows the webhook fired and our Express app returned a 200 response along with the text OK. The response is generated by res.send(‘OK') in our app code. For more information, see Express Routing (opens in a new tab).
Unless you have a paid ngrok account, the destination URL will only be valid for a few hours. After that, the webhook will stop working. Send a DELETE request to the specific webhook ID to disable the hook.
Adding custom headers
You can add custom headers to your create webhook request for added security. The headers property accepts any key-value pair as a string. BigCommerce will include the headers in callback requests made to your application.
POST https://api.bigcommerce.com/stores/{{STORE_HASH}}/v3/hooks
X-Auth-Token: {{ACCESS_TOKEN}}
Accept: application/json
Content-Type: application/json

{
  "scope": "store/cart/lineItem/*",
  "destination": "https://myapp.herokuapp.com/",
  "is_active": true,
  "headers": {
    "Authorization": "Basic SGVsbG86R29vZGJ5ZQ=="
  }
}
Troubleshooting
Custom ports
Currently, BigCommerce does not support destination URLs served over custom HTTPS ports. Use the default HTTPS port 443.
Getting a 404 error using the root (/) url?
Add this snippet to your code to respond to incoming GET requests with 'hello':
app.get('/',(req, res)=>{
    res.send('Hello!');
});
Getting error "ngrok not found"?
There are two ways to fix this. Your local setup will determine which command will work.
Use the command mv ngrok /usr/local/bin to move ngrok to your local bin folder. This way it becomes available globally.
Use the command ./ngrok http 3000 to run ngrok as a sudo user.
Windows users
If you are having trouble getting ngrok started, try setting the PATH.