How to use the Customer Groups Slot in Makeswift
Say you wanted to control what certain customers can see in your store. Be it a special product for members, or a discount for family and friends. The Customer Group Slot provided by Catalyst + Makeswift (opens in a new tab) can empower store creators to do exactly this by conditionally rendering certain sections of their store based on customer groups. A customer group (opens in a new tab), as the name entails, is a feature from BigCommerce that allows store managers to effectively segment their customers by group.
Follow along in this tutorial to see how to use the Customer Group Slot component in Catalyst to provide different coupon codes for different customers.
Prerequisites
Running Catalyst Locally
To start using the Customer Group Slot component, you will need to have a Catalyst project running locally. If you haven’t set up a Catalyst project yet, you can follow the Getting Started guide to create a new one using One-Click Catalyst. From there, you can follow the Local Development guide for running your Catalyst project locally.
Access token
Out of the box, One-Click Catalyst does not provide a compatible key for querying customer and customer group data. You must create a Store-level API Account access token with a read-only scope for customers. See the Store-level API accounts documentation for details on creating an the appropriate access token.
After creating the access token in the Control Panel, you will need to add it to your .env.local file in the root of your project.
BIGCOMMERCE_ACCESS_TOKEN=<YOUR_ACCESS_TOKEN>Setting up Customer Groups
Head over to your Customer Groups page in the BigCommerce control panel under Customers => Customer Groups and make sure you have some groups to work with. An in-depth guide for this can be found in the Customer Groups (opens in a new tab) support article.
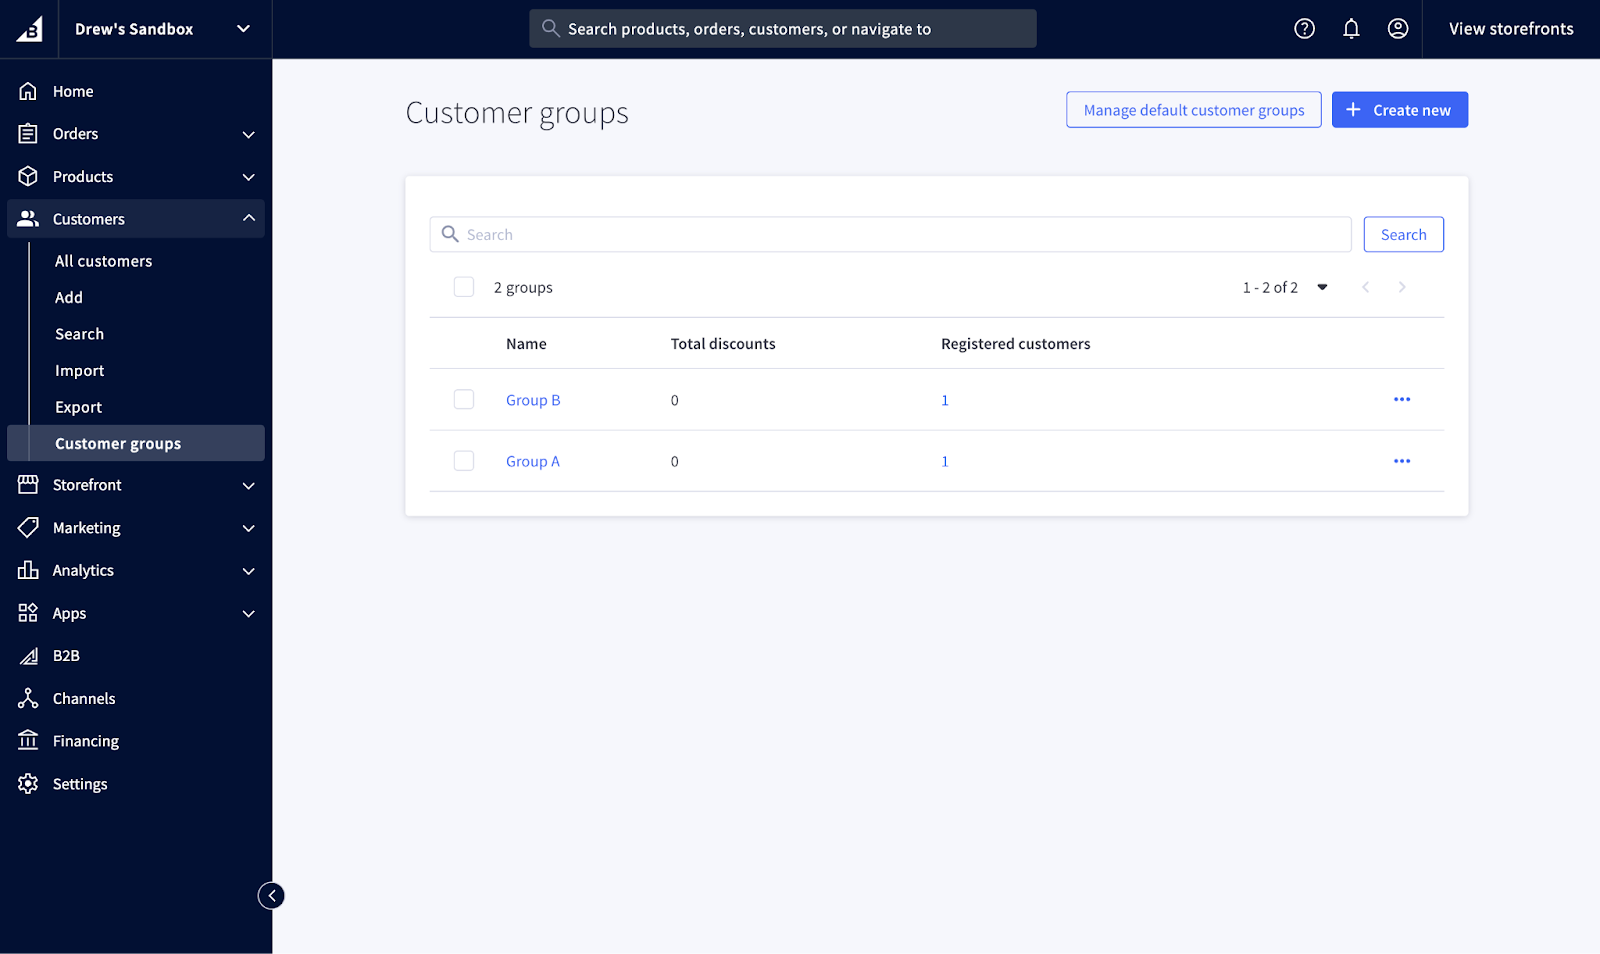
Here you can see we have two groups: Group A and Group B.
Now you need to assign some customers to your desired groups so you can see what they will see in your store. If you don’t have customers to work with, you can follow this Customer Storefront Accounts (opens in a new tab) support article.
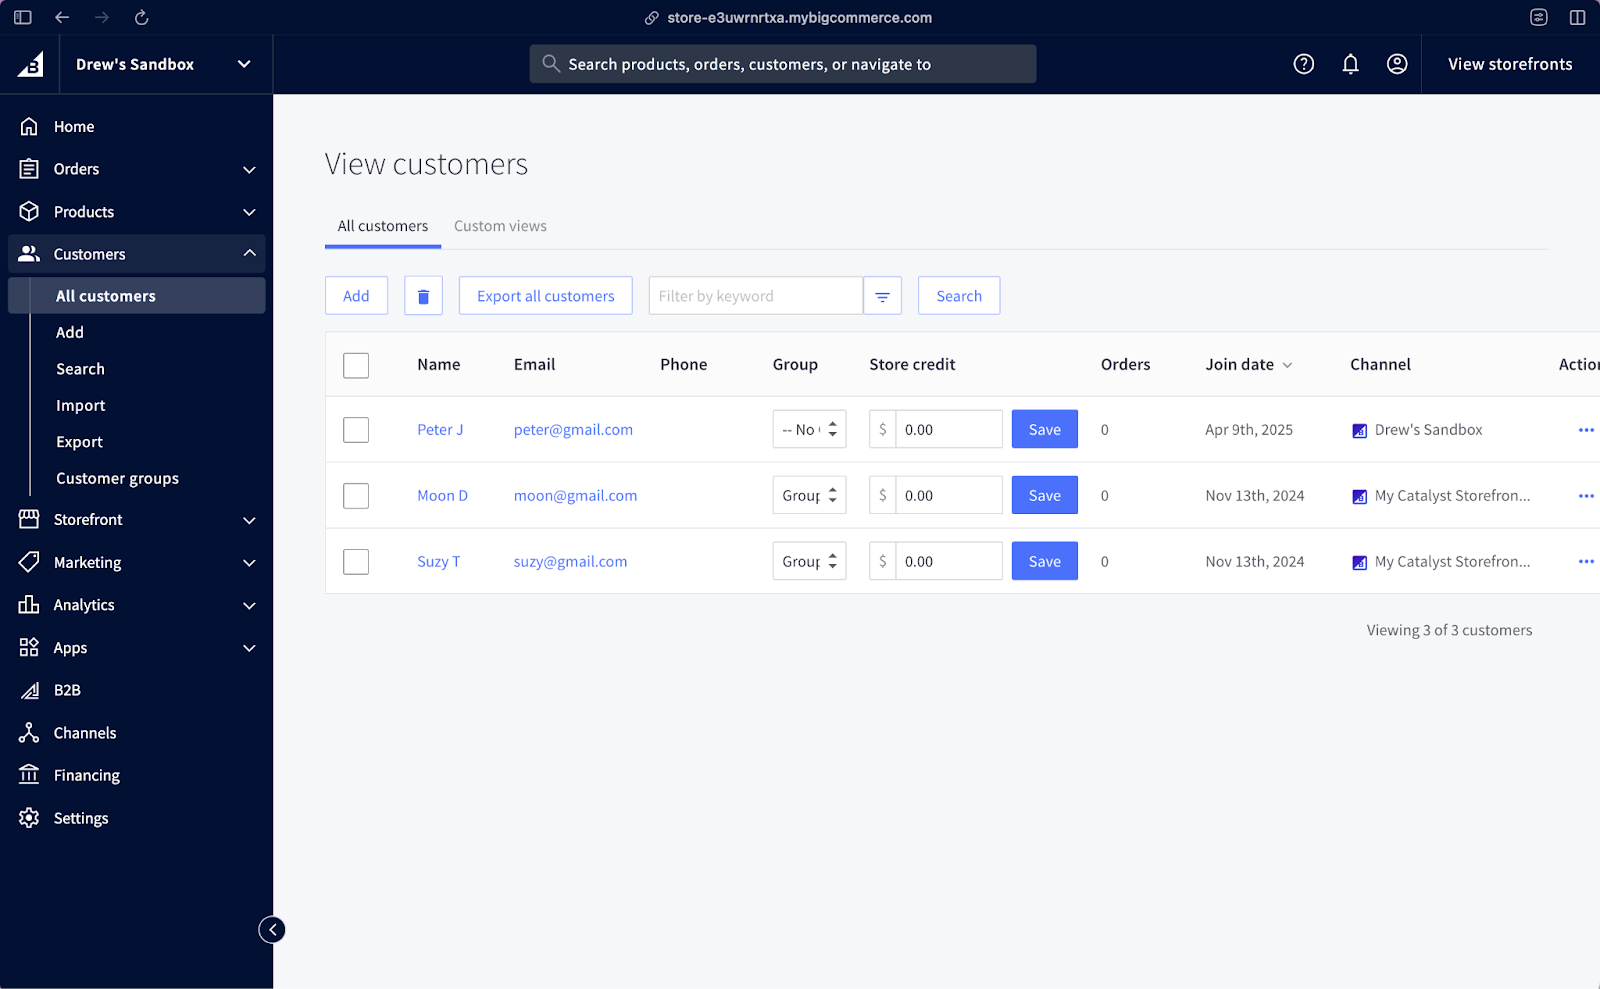
We have three customers here named Peter J, Moon D and Suzy T. In the Group column, we’ve assigned Suzy to Group B, Moon to Group A, and Peter to No Group.
Make sure you click Save in each row when making those modifications.
Working with the Customer Group Slot in Makeswift
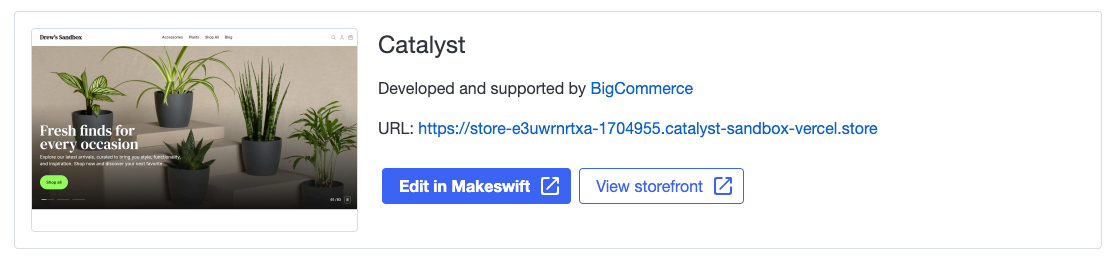
Once done, go back to your channel page and click on Edit in Makeswift to begin using Makeswift for your store.
Switch to your development environment (opens in a new tab). Now in the Home page, let’s add a new section. Open up the component drawer and drop in the Section component into the page.
The goal here is to add a dynamic section on the page with content that changes based on the Customer Group. From here on, we’ll refer to those dynamic pieces of content as “group slots”. So, let’s drag in the Customer Group Slot component.
The controls for this component on the right handle the following:
-
Selected groups: Choose from a list of available customer groups that you’d like to create custom content for.
-
Simulated group: This will control which available groups you would like to individually simulate in the editor.
By default, the No group selection is included, which includes target customers that are not logged in or have “No group” selected as their BigCommerce group.
Once that’s finished, let’s add “Group A” to the control for Selected groups, and simulate it with the Simulate group control. Once simulated, let's add the text “A big discount for group A” that only Group A customers can see.
You will need to start searching for groups before they will populate in the dropdown.
We are now in control of what Group A will see.
Repeat the same steps for Group B:
You can now control what users belonging to Group A and Group B will see, respectively.
Let’s also define the content to be shown for a customer that doesn’t belong to a group by targeting No group.
Testing your changes
Publish your changes with the “Publish” button on the top right and make sure you select the page you’ve made changes to.
To officially test that this component works, we can view what each group sees by logging into Moon’s, Suzy’s, and Peter’s accounts to ensure the component is rendering as expected for each group. Let’s click the button next to the URL to navigate to this page.

Before logging in, we can see the content that is rendering for customers with no group.

Now let’s log into Suzy’s account and see what she will see.
Great! How does Moon’s account look?
And finally, Peter’s account which doesn’t belong to a group.
We can see that each account has its own rendering of the component! Now you know how to build a section of your store using the Customer Group Slot.