BigCommerce for WordPress
Multi-site Setup
When connecting more than one WordPress site to your BigCommerce store, you need to use an API account to link them. If you try to connect using the 'connect your store' flow, which uses a BigCommerce app to streamline the connection, your first WordPress site will lose its connection to BigCommerce.
Multi-site and subdirectories
Multiple sites can share the same API credentials, or you can choose to create a new set of credentials for each site.
| Configuration Method | Is Supported |
|---|---|
| Subdirectories | No |
| Subdomains | Yes |
| Separate Domains | Yes* |
Note that embedded checkout is only supported on a single domain at a time. See the BigCommerce for WordPress (opens in a new tab) documentation.*
Getting your API credentials
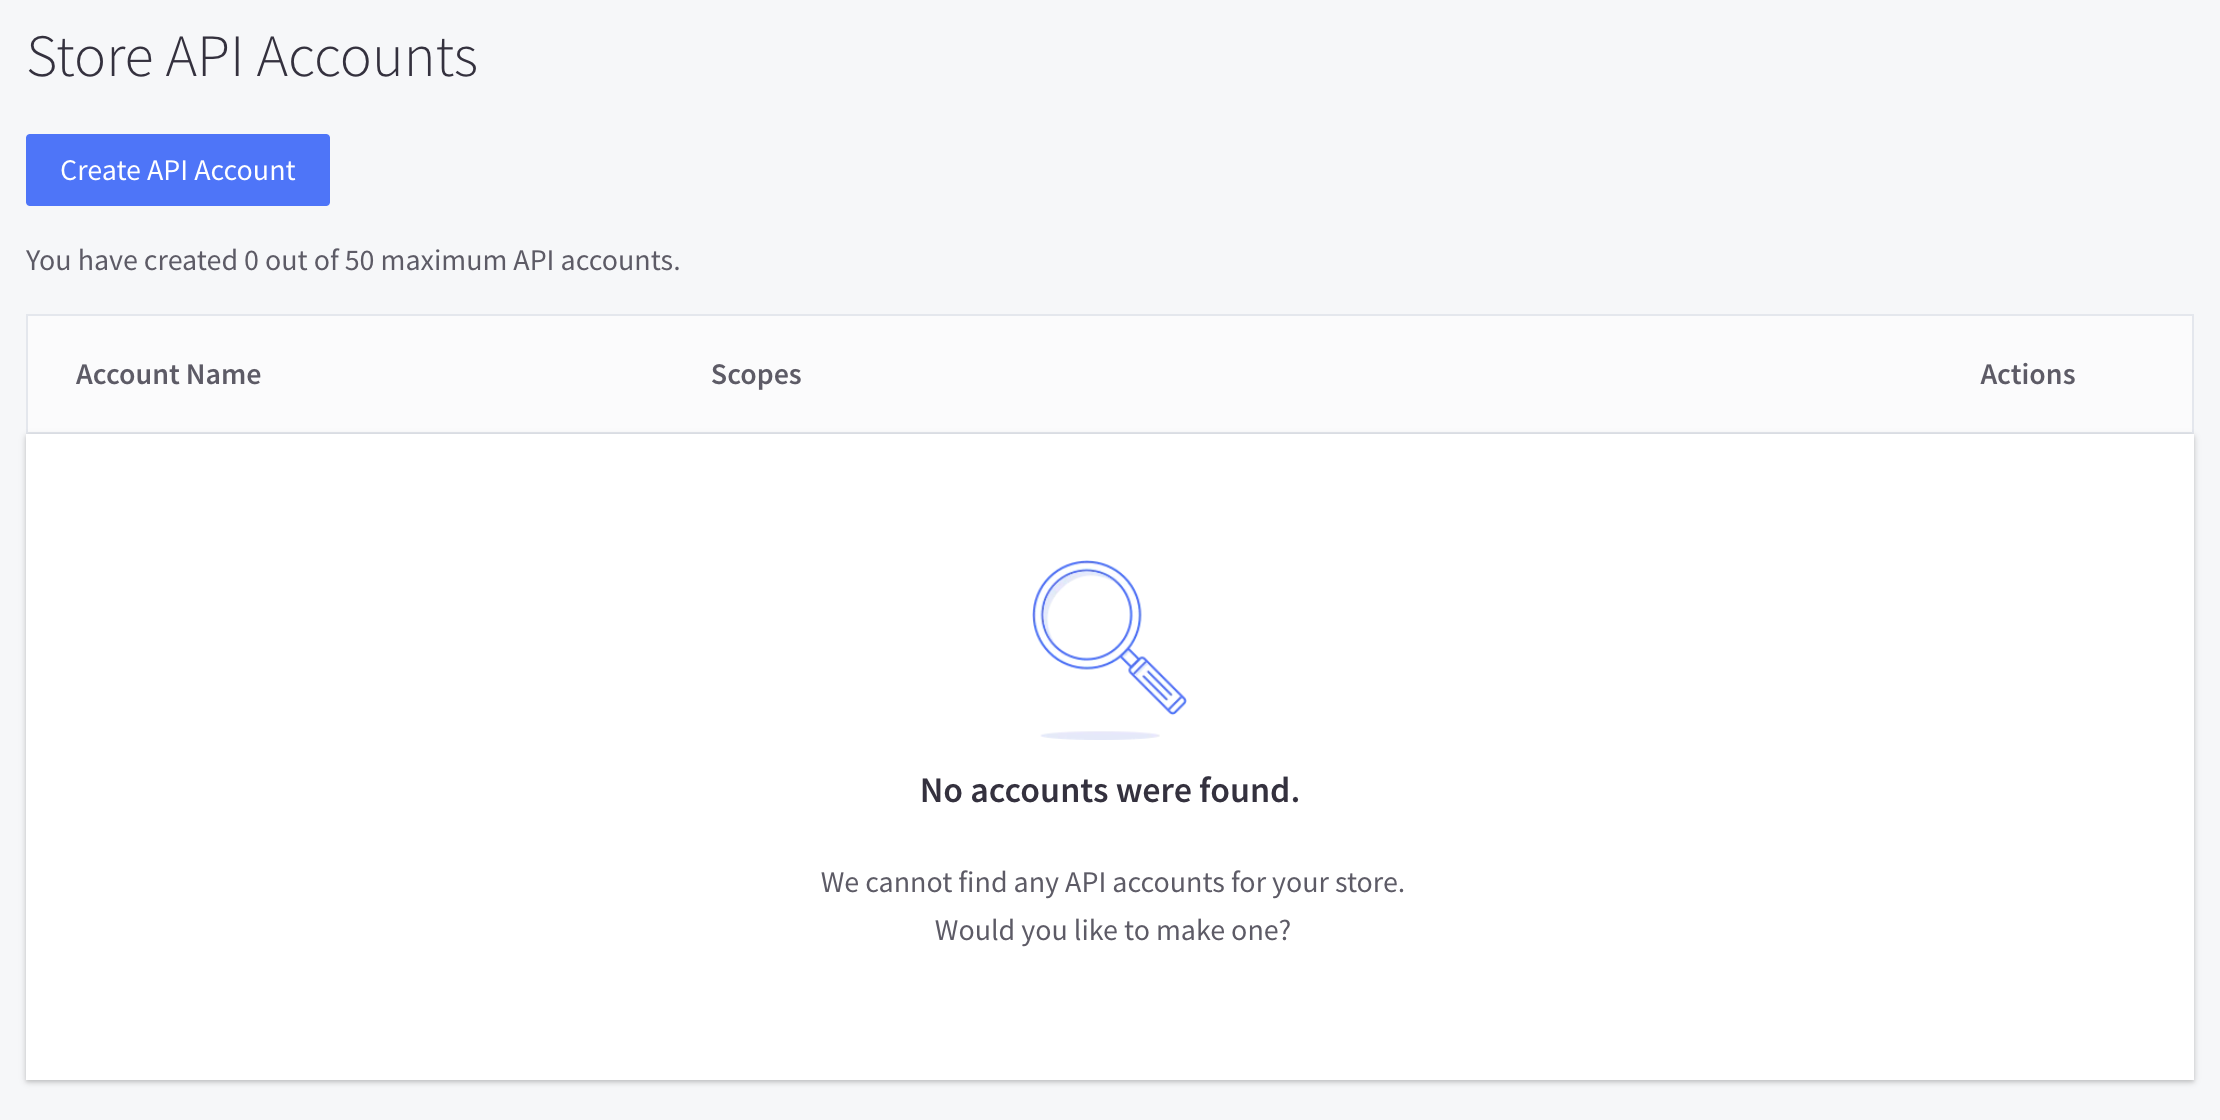
- To get your store’s API credentials, sign in to your active MSF-enabled BigCommerce store and head to Settings > API > API accounts.

- Click the blue
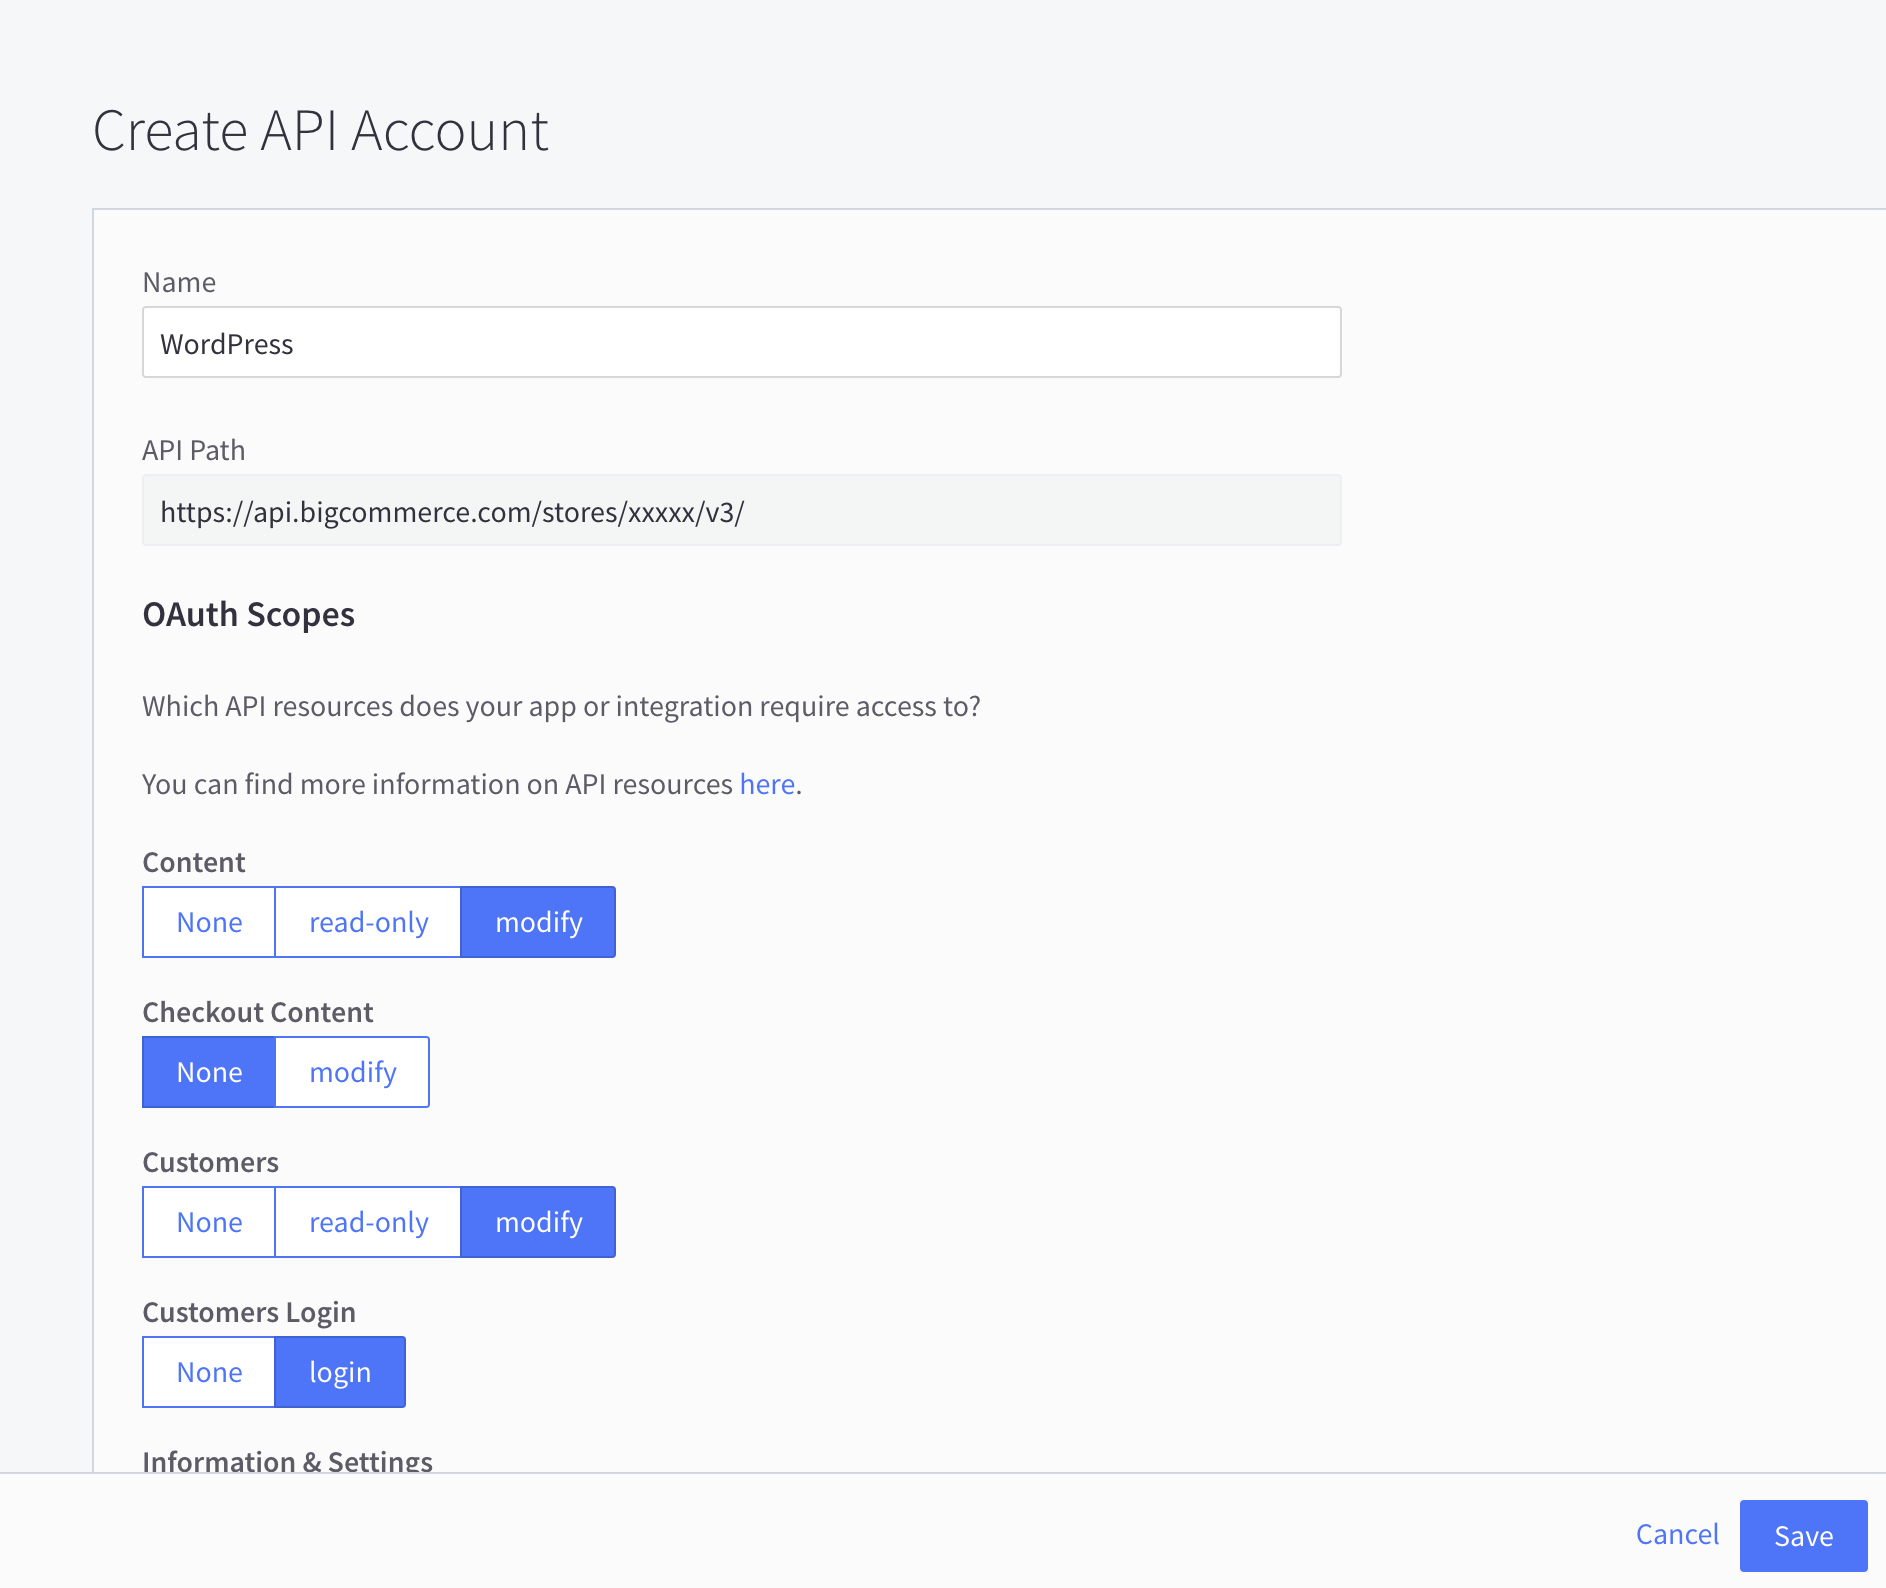
Create API Accountbutton on the top left-hand side. This opens up a screen that will ask you to enter a name and select scopes for the API account.

-
Depending on the product import options you select, the OAuth settings must match up accordingly to prevent importing errors. For more information on product import options, check out our Product Import page.
Set the OAuth scope settings to the following defaults according to your import options.
| OAuth Scope | Full Import | Fast Headless |
|---|---|---|
| Content | None | None |
| Checkout content | None | None |
| Customers | Modify | Modify |
| Customers login | Login | Login |
| Information & settings | Modify | Modify |
| Marketing | Read-Only | Read-Only |
| Orders | Read-Only | Read-Only |
| Order transactions | Read-Only | Read-Only |
| Create payments | None | None |
| Get payment methods | Read-Only | Read-Only |
| Stored payment instruments | None | None |
| Products | Read-Only | Read-Only |
| Themes | None | None |
| Carts | Modify | Modify |
| Checkouts | Modify | Modify |
| Sites & routes | Modify | Modify |
| Channel settings | Modify | Modify |
| Channel listings | Modify | Modify |
| Storefront API tokens | None | Manage |
| Storefront API customer impersonation tokens | None | Manage |
| Store logs | None | None |
| Store locations | None | None |
| Store inventory | None | None |
| Fulfillment methods | None | None |
| Order fulfillment | None | None |
- After you have finished setting a name and selecting scopes, click
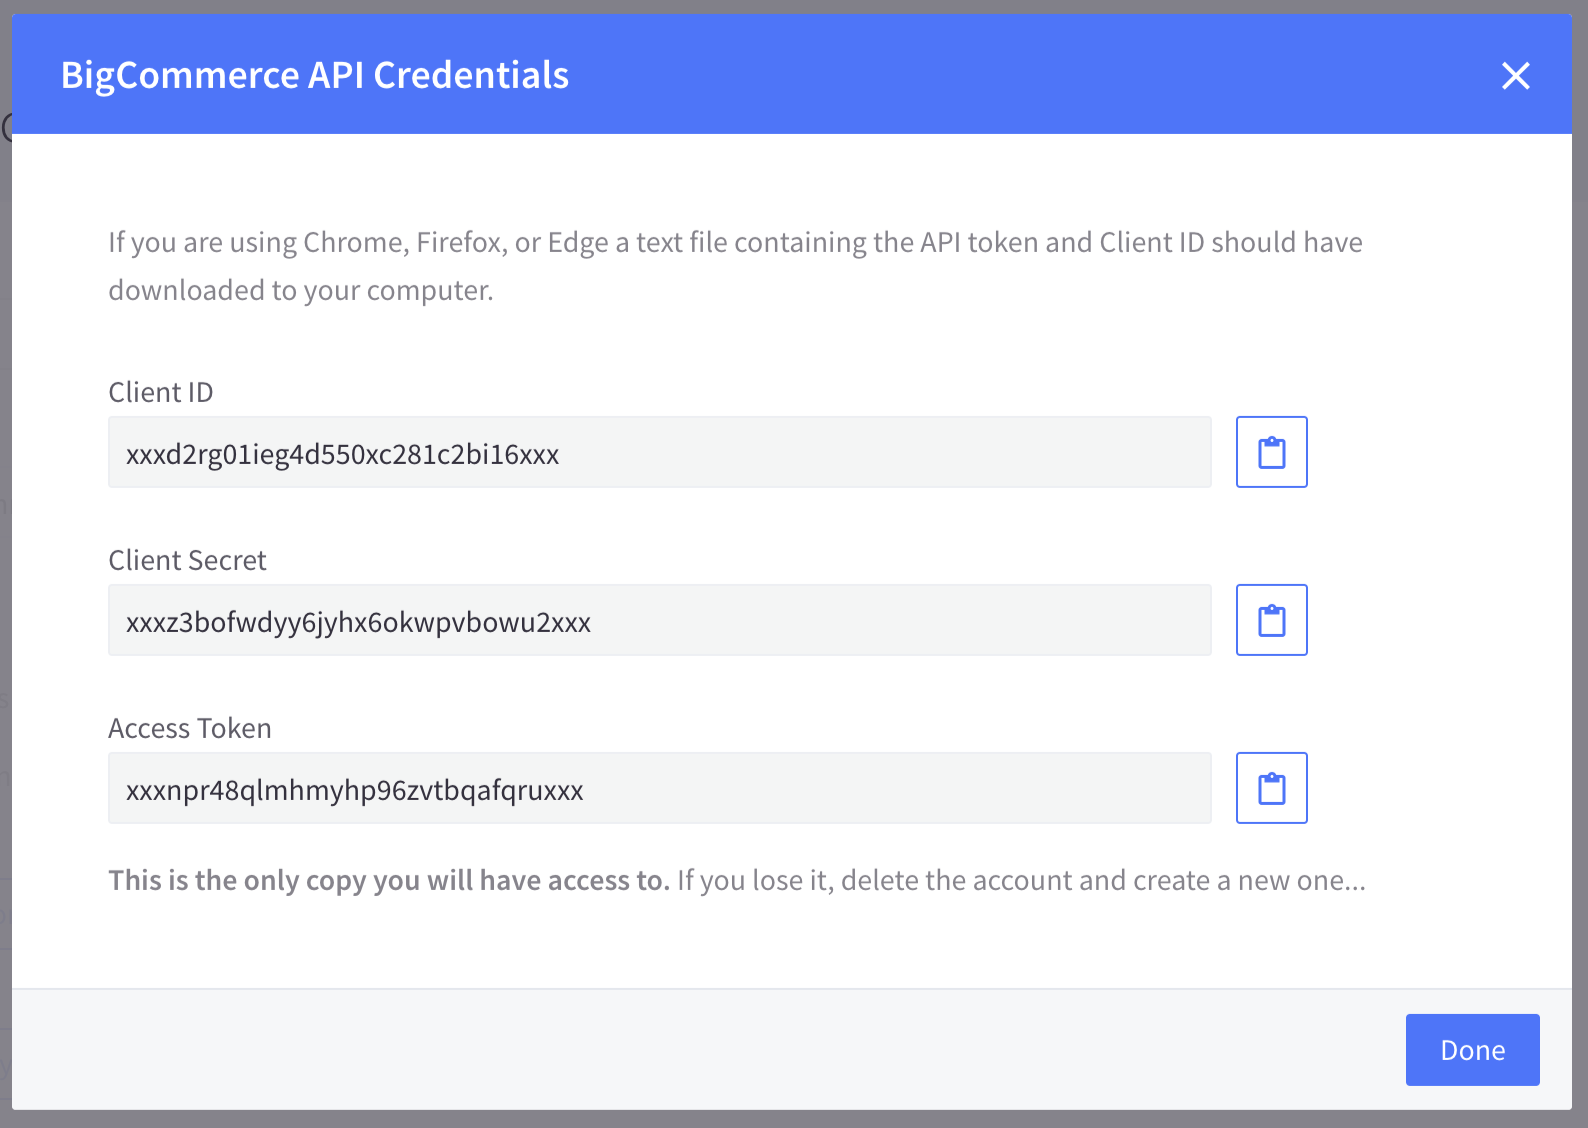
Save. You will then see a modal that contains theClient ID,Client SecretandAccess Tokennecessary for the remaining fields in the WordPress API Credentials settings.


Setting up a WordPress site using API account credentials
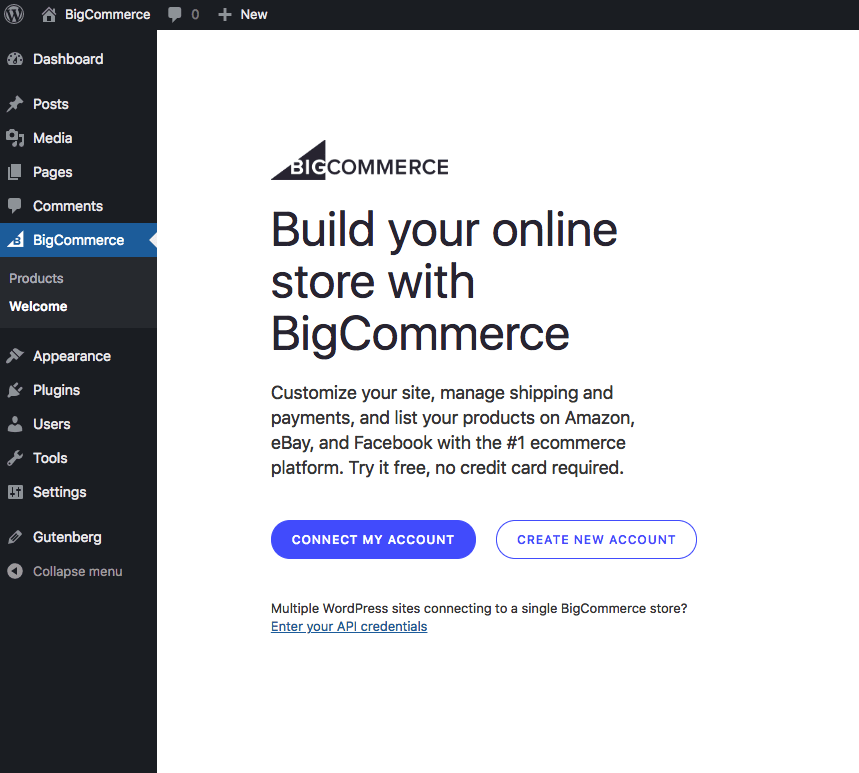
- To set up a WordPress site using this method, click
Enter your API credentialson the welcome screen in the plugin.


- Enter your API credentials on your WordPress site.
Saving the API credentials on your WordPress site will direct you to name the channel that the plugin will create. This allows you to list product to the channel from within BigCommerce and link orders back to the channel that comes from the WordPress site. You can also link to an existing channel.
Congratulations, you're done setting up your additional site!