Email Templates Code Examples
This article provides examples of how to customize email templates. The examples are for use in the recently updated templates. You can enable the new version of transactional emails by going to Marketing > Transactional Emails and clicking Try New Experience. When you are ready to use a template, make sure to Enable the template from the respective dropdown.
The following code examples demonstrate how to update text, add a button, change logo size, change the font size, and add a tracking script to an email.
Previewing changes can help you write accessible emails (opens in a new tab). Read more about satisfying Web Content Accessibility Guidelines (WCAG) 2.1 (opens in a new tab) with BigCommerce's Stencil framework.
Updating text
To change existing text in an email template, update information in the Phrases and Code tabs. For detailed instructions, see Editing Template Phrases (opens in a new tab).
Adding a button
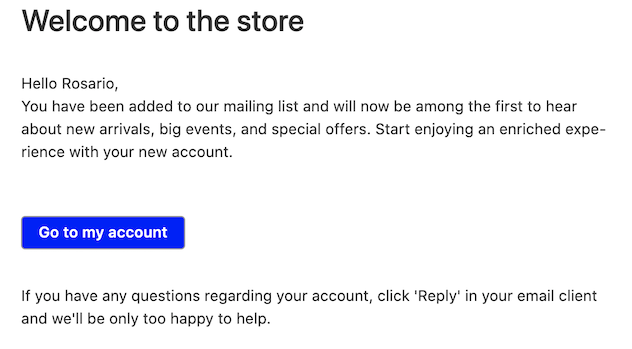
You can create an email button using HTML. The following code example adds a blue button with white text to the Account Created template.
Go to Transactional Emails > Email Templates. Click ... next to Account Created and select Edit Template. Copy and paste the contents below into the Content editor. Ensure that you paste the text outside the open <table> and closed </table> tags.
<table class="row">
   <tr>
      <th class="column">
         <table>
            <tr>
               <th>
                  <a href="{{store.path}}" style = "background-color:blue; color:white" class="sign-in">{{lang 'sign_in'}}</a>
               </th>
               <th class="expander"></th>
            </tr>
         </table>
      </th>
   </tr>
</table>
You can select a different button background and text color. We suggest adhering to the minimum color contrast standards (opens in a new tab) set by WCAG.

Changing logo size
To change the size of your logo that appears in your email, specify width and height values in the Content editor. Go to Transactional Emails > Email Templates. Click ... next to Order Email and select Edit Template. Go to the Code tab and replace:
<img src="{{store.logo.url}}" alt="{{store.logo.title}}">with
<img src="{{store.logo.url}}" alt="{{store.logo.title}}" width="200" height="200">You can also add width and height values to images.

Changing font size
To change the email font size, use the style attribute. You can define attributes such as color and font size within the paragraph <p> tag. Go to Transactional Emails > Email Templates, click ... next to Guest Account, and select Edit Template. Go to the Code tab and replace:
<p>{{lang 'help'}}</p>with
<p style="font-size:16px;">{{lang 'help'}}</p>To make your text responsive so that readers can view it on a variety of devices and screen sizes, use the viewport width (vw) unit to set the font-size. vw style settings allow you to control the widths of elements no matter the viewport size.
<p style="font-size:2.0vw">{{lang 'help'}}</p>Adding a tracking script
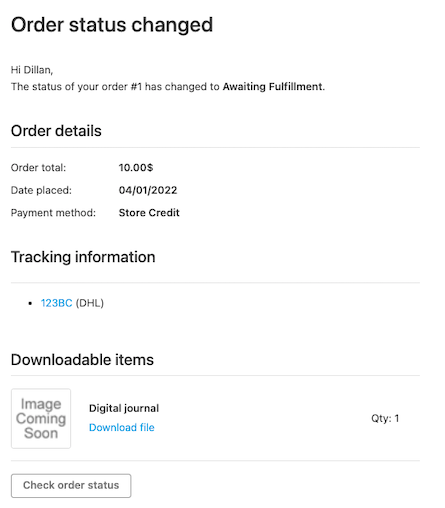
You can add a tracking script to an email template. To ensure that the script appears in the email, add or update information in the Phrases and Code tabs.
Go to Transactional Emails > Email Templates. Click ... next to Order Status Update and select Edit Template. In the Phrases tab, use tracking_title for phrase name and Tracking information for phrase value. Then copy and paste the contents below into the Content editor.
 <th>
   <h2>{{lang 'tracking_title'}}</h2>
   {{#if order.tracking}}
      <ul class="tracking">
         {{#each order.tracking}}
            <li>
               <p>
                  <a href="{{link}}" target="_blank">
                     {{#if id}}
                        {{id}}
                     {{else}}
                        {{lang 'tracking_label'}}
                     {{/if}}
                  </a>
                  {{#if shipping_method}}
                     ({{shipping_method}})
                  {{/if}}
               </p>
            </li>
         {{/each}}
      </ul>
   {{else}}
      <p class="tracking">{{lang 'no_tracking_numbers'}}</p>
   {{/if}}
</th>