Beyond Pages: Build an Interactive Resume with Layout-Driven Design in Next.js
Building a resume for your job search?
Modals let users quickly preview a resume sample without losing context. They can explore and easily navigate back when browsing multiple samples.
Read on to learn how to showcase your resume samples in a modal overlay in a Next.js app. It turns out you can level up your resume beyond basic page navigation using layout-based rendering.
By the end of this tutorial, you’ll have an app where:
The user is on
/resumepageThey click on a resume sample which links to a new route
Next.js intercepts the route and displays content inside a modal slot
The modal appears as an overlay due to styling
The user clicks a button to return to the
/resumepage
Your app will also display a dedicated page for the sample when you visit the route directly – ideal for bookmarking or showcasing full content.
Bonus points! You’ll also get a feel for some key routing features in Next.js apps that use the App router. If you want a sneak peak, you can find the final code for the interactive resume in the nextjs-navigation Github repository.
Let’s get started!
Prerequisites
Create a Next.js application with the app router using the Automatic Installation instructions. Make sure to include Tailwind and Typescript.
Create a resume page
In Next.js projects that use the App Router, each route corresponds to a folder in the /app directory.
First, we’ll create a resume page by adding a resume folder, which maps to the /resume route:
Add a card representing a portfolio project by copying the following to your app/resume/page.tsx file.
/resume path, you should see the project card: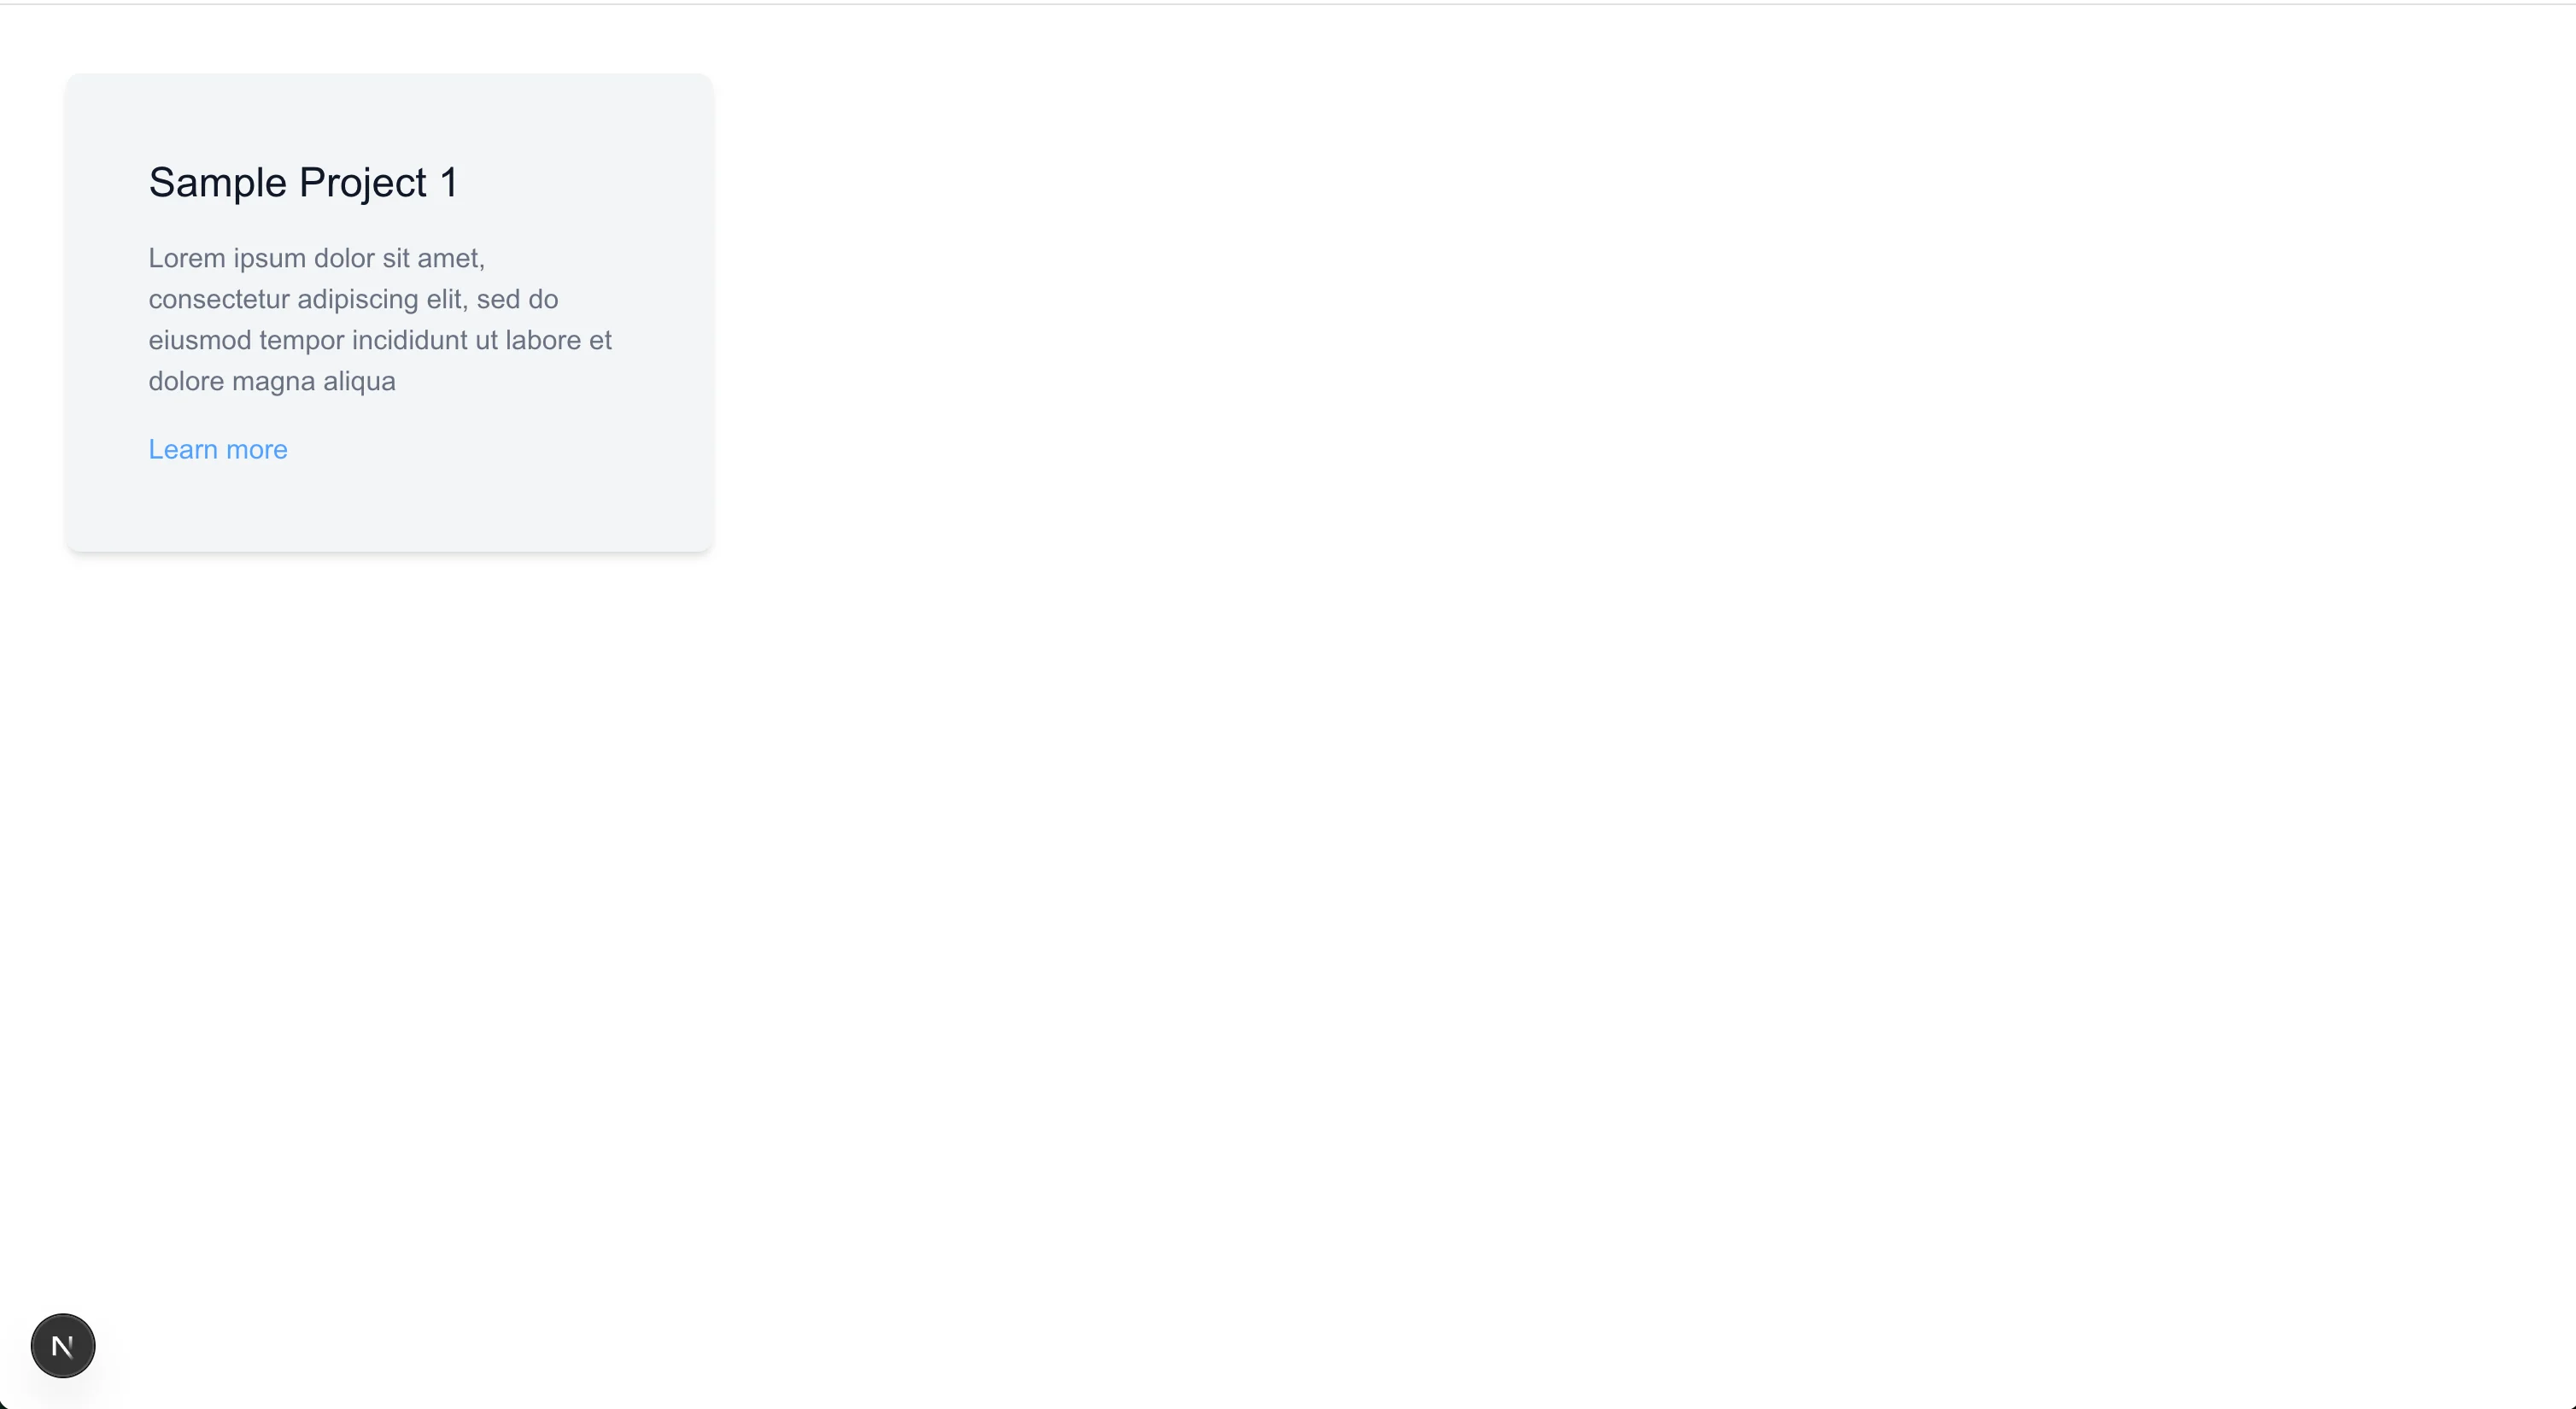
Create a modal with parallel routes
To create the modal overlay, we’re going to use parallel routes. You can use a parallel route to introduce a UI region (or slot) into your application where your modal can live.
To start, create a layout.tsx file inside your resume folder.
Inside the layout.tsx file, we’re going to define a slot for the modal using the layout’s props. The props tell Next.js that there are two UI regions that we want to fill – the modal and the remaining content on the page (via the children prop).
Next, we’re going to create a @modal subfolder within the resume folder to fill the slot we created. The name of the subfolder should match the prop name. The @modal segment won’t be part of the URL path that you visit, but Next.js will place its contents inside the modal slot we defined in layout.tsx.
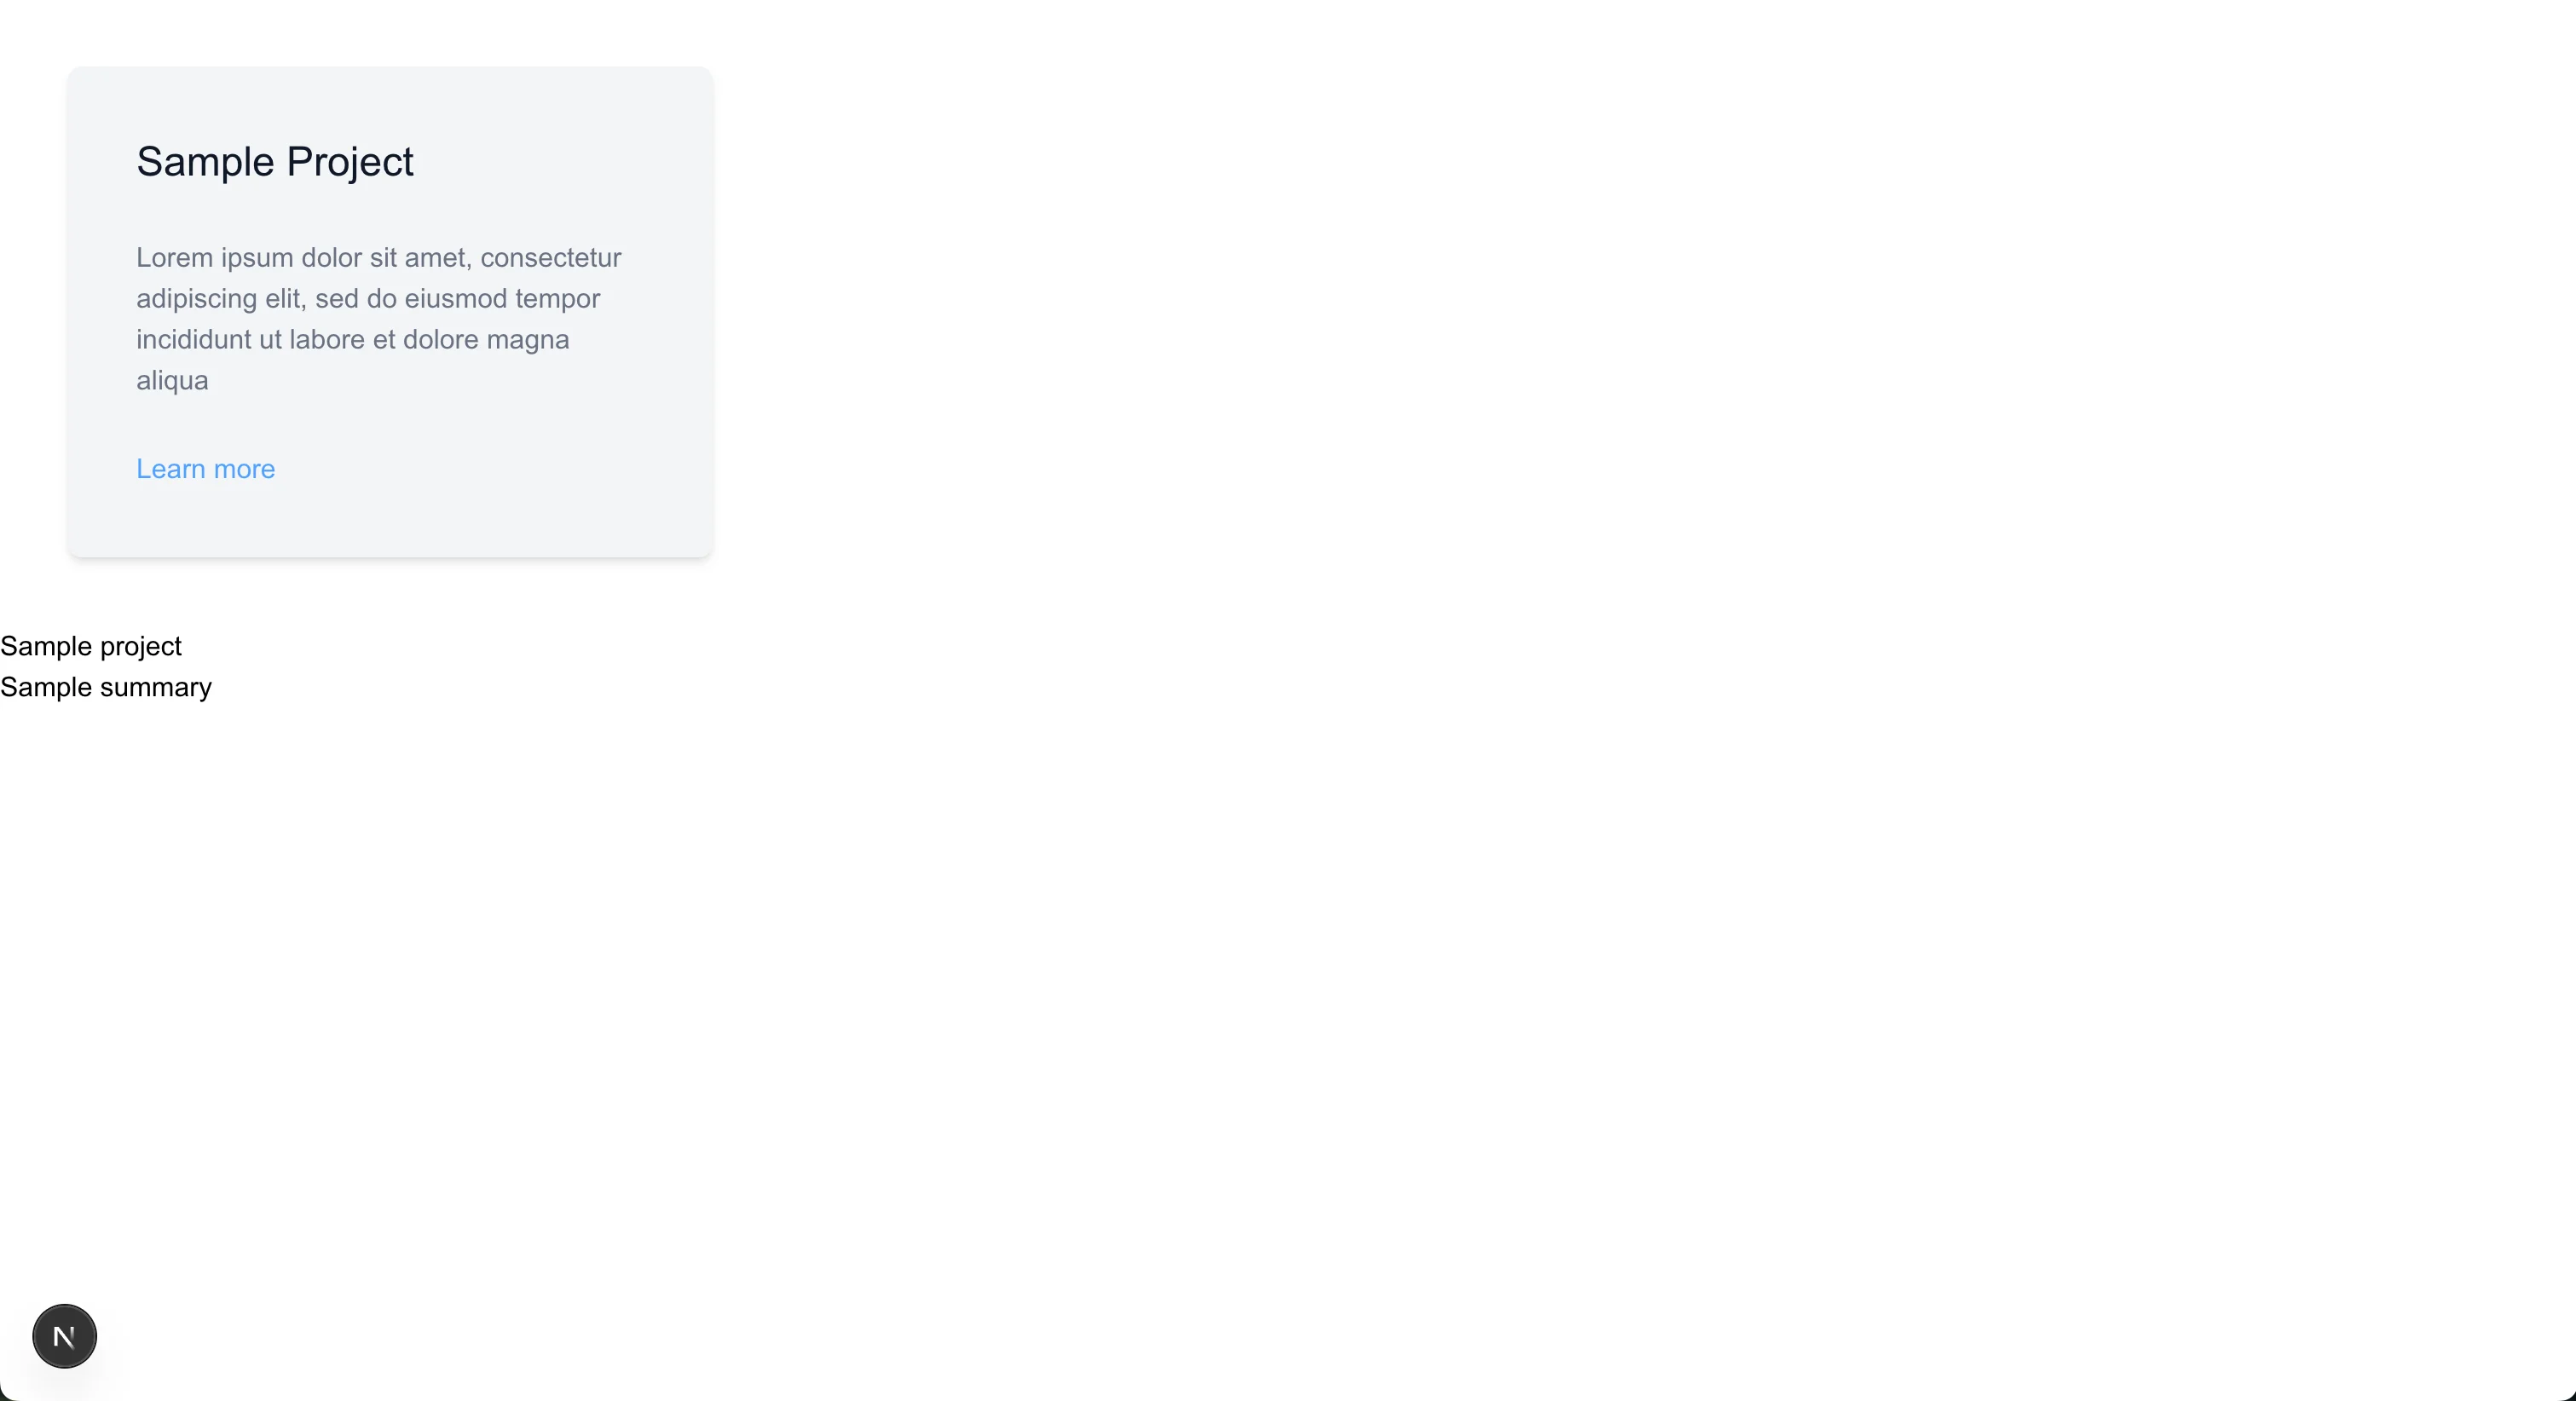
Add the sample description to app/resume/@modal/page.tsx:
When you visit the resume page at /resume, you will see the modal slot rendered below the main page content, since that’s how we defined the layout.tsx page.
Tip! To see changes, you’ll need to restart your development server after you change the routing tree or layout throughout this tutorial. Next.js rereads the routing tree and updates its configuration when you do this.
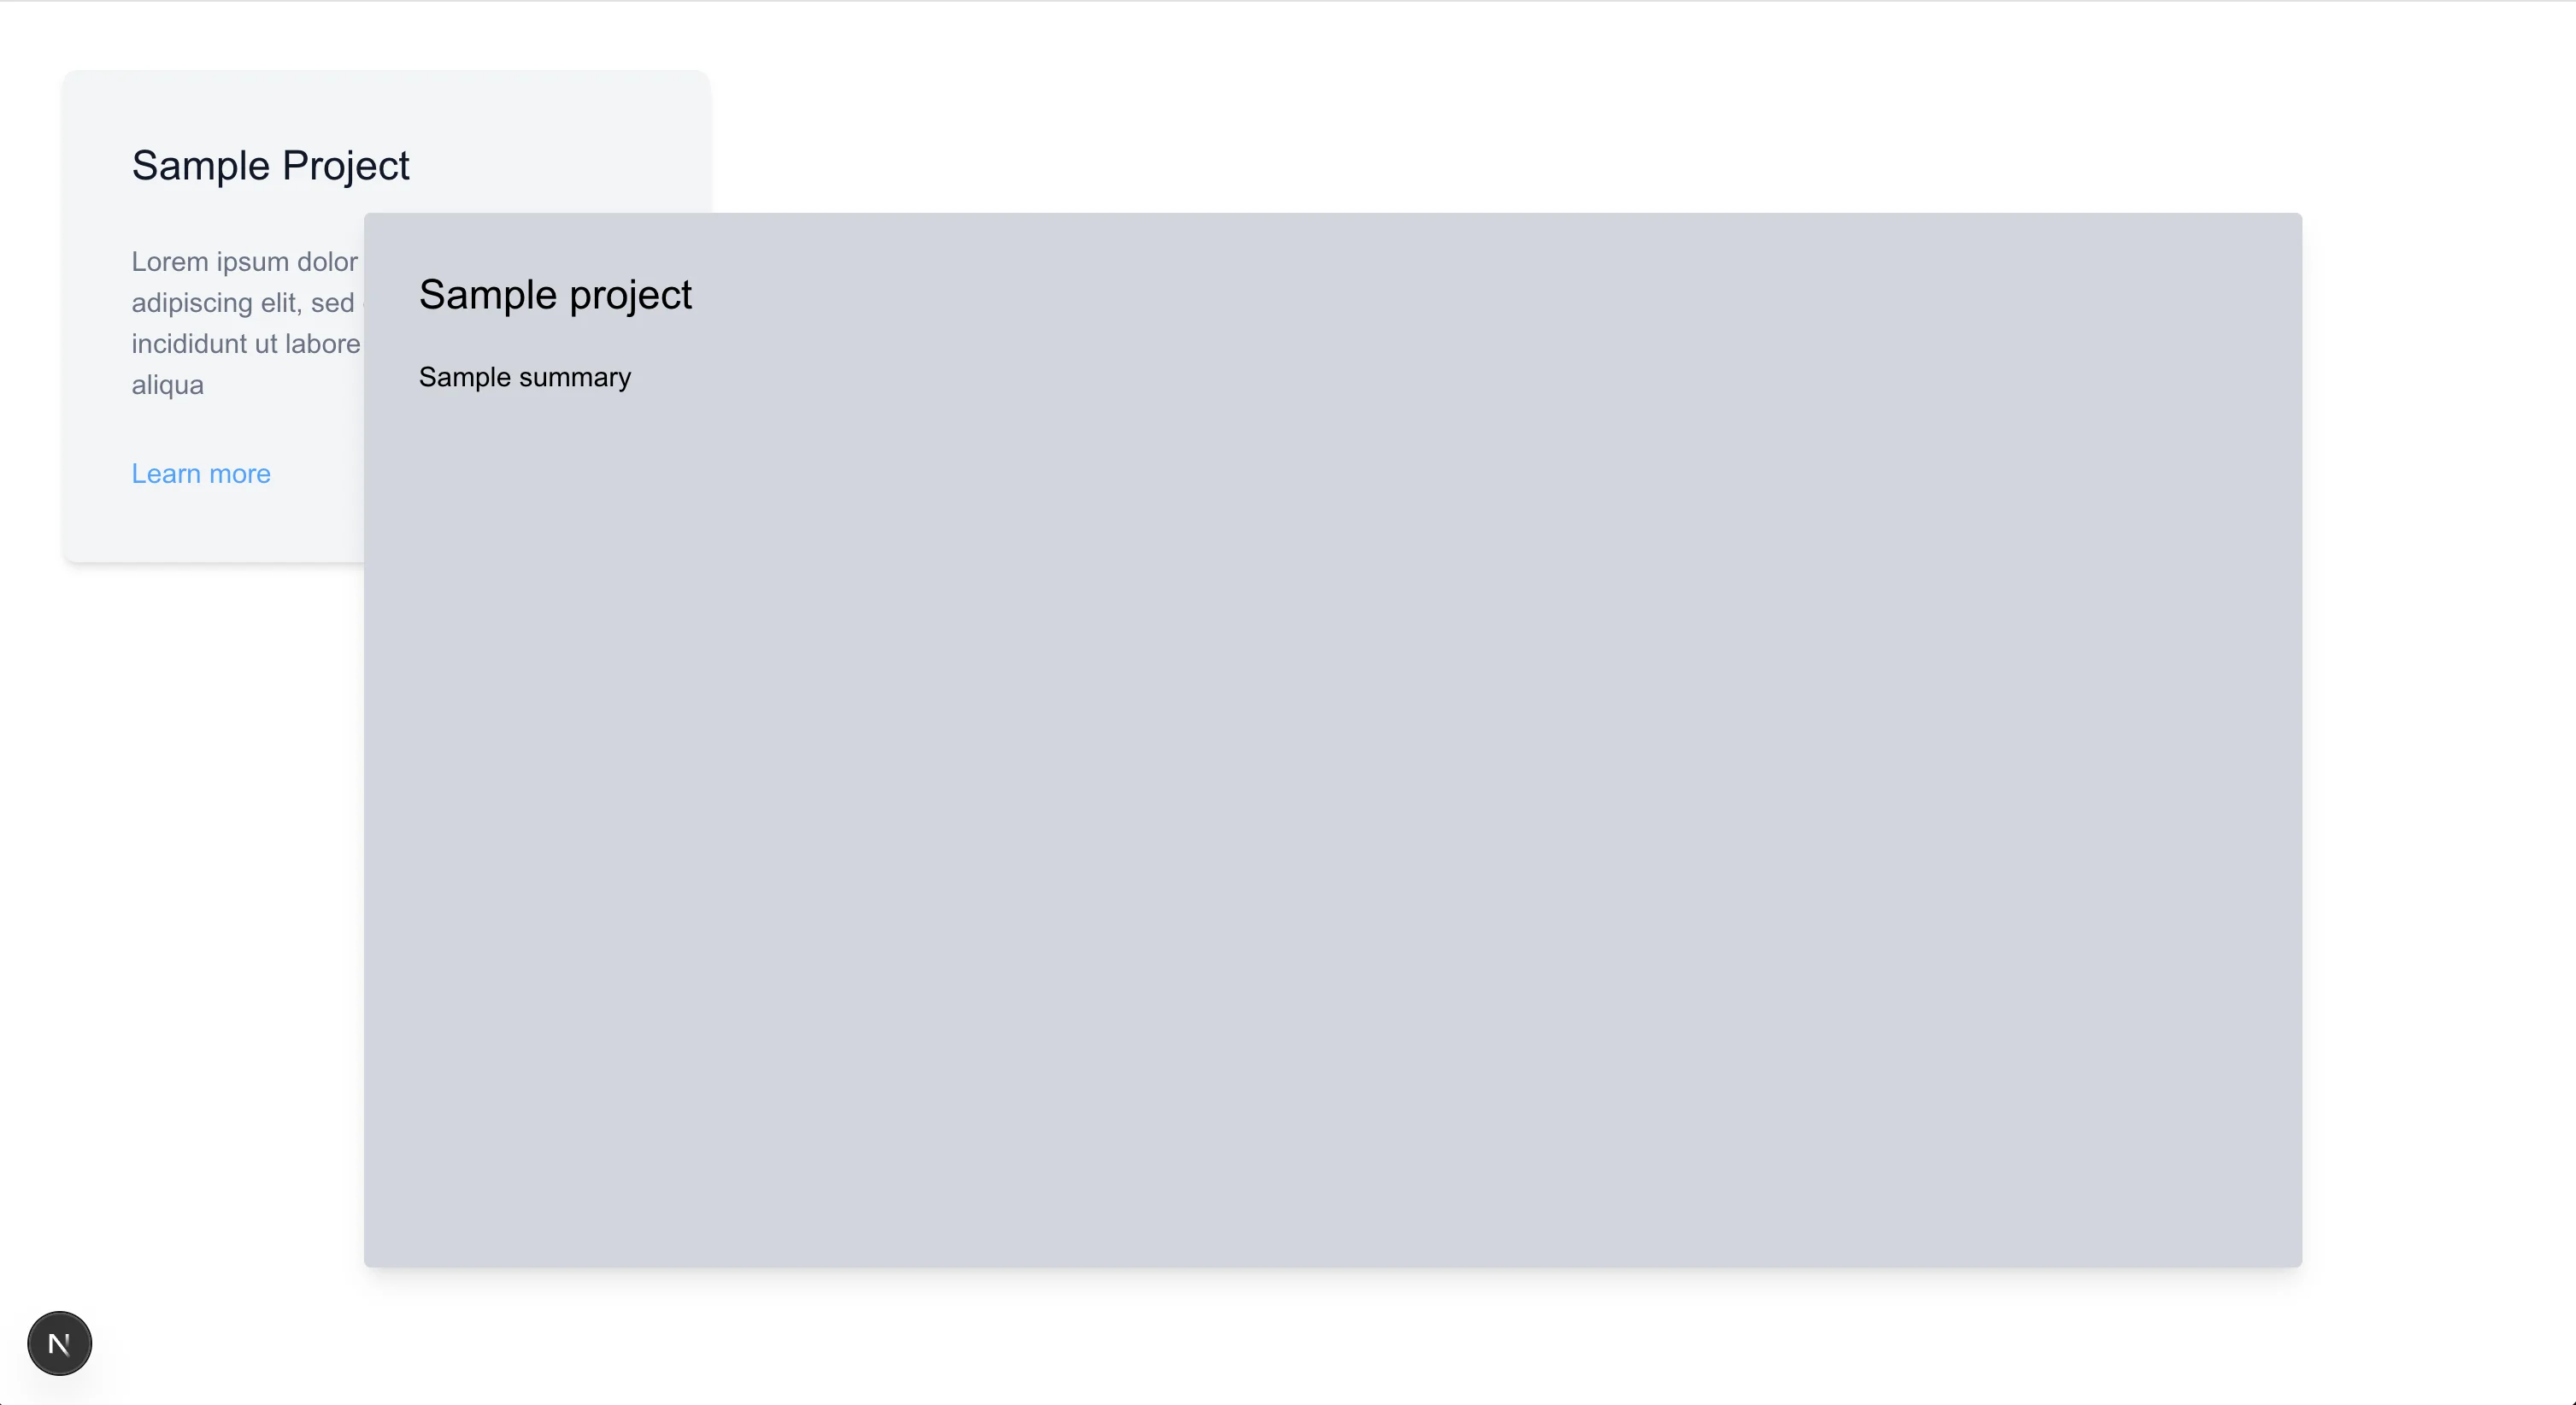
You can then use styling in app/resume/@modal/page.tsx to make the modal appear as an overlay, i.e. on top of the main page content:
Your resume page should now look like this:
Trigger the modal with intercepted routes
Currently, the modal renders whenever we are on the /resume page, but we want to have the modal appear only when a user clicks on the sample. Otherwise, we want it hidden.
One solution is to have the modal slot empty by default. Then, when a user clicks on the sample, we can navigate them to a new route, which Next.js will intercept and load inside the modal slot instead of as a full page. Let’s explore how intercepting routes work!
First, update the resume/@modal/page.tsx file to return null:
You shouldn’t have the modal overlay anymore when you visit /resume.
Then, create the new route, /sample, that loads inside the modal slot. The parentheses denote the intercepted route.
Next, add the modal overlay to the /resume/@modal/(...)sample/page.tsx file you just created.
Next.js can intercept the route from any child or nested page within the /resume folder, since the layout file that declared the modal lives there.
In your /resume/page.tsx file, update the Learn More link to direct users to the route for the modal overlay (i.e. /sample):
Restart your dev server and try clicking on the Learn More link on the resume page. You should see your modal overlay without leaving the resume page context.
When the modal is open, notice that the browser URL is /sample, not /resume/sample. Even though the intercepted route file is nested inside the resume folder, it's not actually part of the resume route path. Intercepted routes use only the path after the parentheses in its folder structure and don’t include the path where it is rendered.
To close out the modal, we’re going to add a link to the modal overlay in /app/resume/@modal/(...)sample/page.tsx that will take you back to /resume page:
Add a full sample page with non-intercepted routes
If you visit the /sample directly or refresh the page when you’re viewing the modal, you should see a 404 error. That’s because Next.js uses its default routing behavior when you visit a route directly or refresh the page (no interception occurs!).
We’ll need to define a /sample route in your app folder which will render content when the sample route is not intercepted.
In any case, having a dedicated sample page is ideal if you want people to bookmark your resume sample.
Create a new /sample folder inside the app directory:
app/sample/page.tsx file:
Now when you visit the /sample page directly in the browser, you should see content that Next.js loads as a full page. Later, we’re going to make this into a dedicated page for your sample that you can access by deep link.
Remember that Next.js only intercepts the /sample route from any child or nested page within the /resume folder. If we try to access /sample from a different location, we’ll also get the non-intercepted route.
Pro tip! Check out the file convention when you name your intercepted route folder. It’s based on the position of the non-intercepted route folder relative to that of the intercepted route.
Bonus: showcase multiple samples with dynamic routes
You’ll probably want your /resume page to showcase multiple samples.
To follow along, create a sampleData.ts file in the root directory with sample data for multiple samples:
Import the sample data into your /resume/page.tsx file and update the resume page to include all the samples:
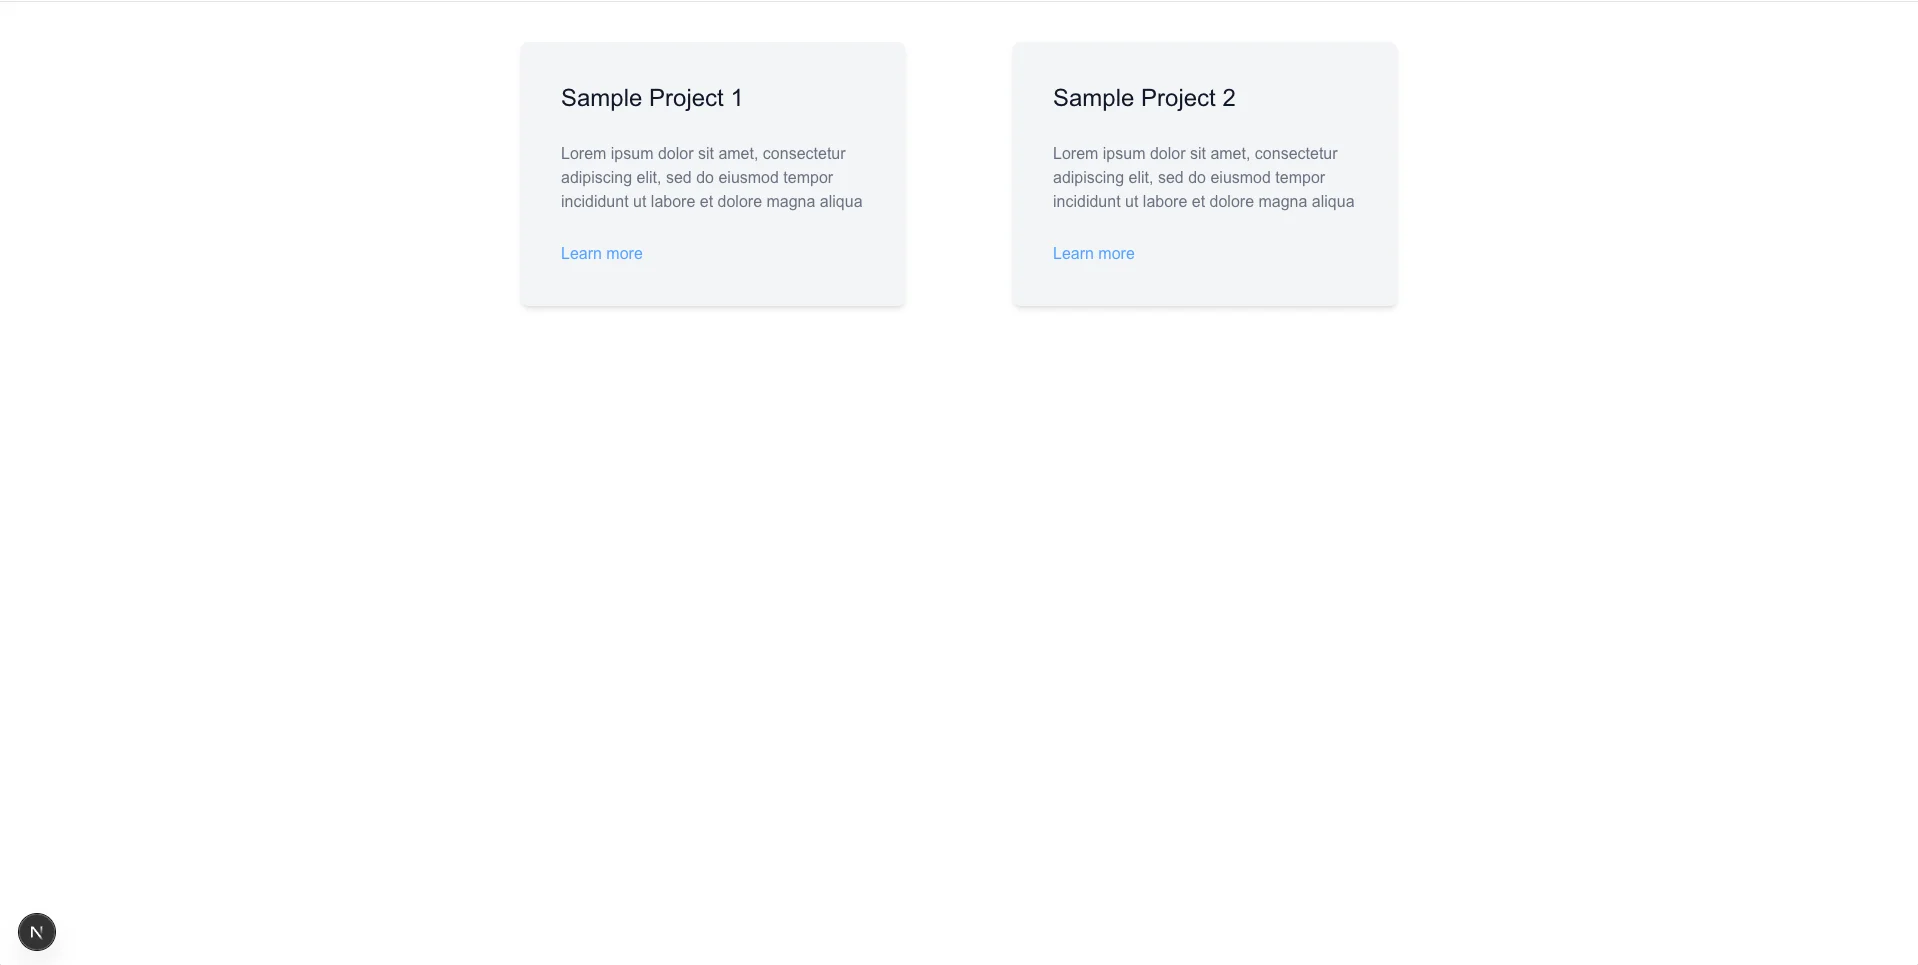
Notice in our code that we no longer want the Learn more link to always point to the /sample route. We want the first sample to appear under a /samples/sample-1 path, the second sample to appear under a /samples/sample-2 path, etc.
We’ll have to adjust our folder structure to account for this. But instead of creating a folder for each route, we can use a dynamic segment in the folder structure to represent a parameter:
app/resume/@modal/(...)samples/[sample]/page.tsx file.The dynamic segment captures the slug as a parameter, which you can use to access content for a particular sample.
We’re going to update the app /resume/@modal/(...)samples/[sample]/page.tsx to render sample-specific content based on the parameter:
Restart the dev server. Now when you click on each sample, you should see info for the sample you clicked under its corresponding path:
We’ll also want the non-intercepted version of the route to point to the updated paths and load sample-specific content.
Update your folder structure to include dynamic segment for the non-intercepted route:
/resume/samples/[sample]/page.tsx to render sample-specific content based on the parameter:
Try visiting /samples/sample-1 directly in the browser. You should see info for the first sample on full page load:
Keep building!
Learn more about the file system in Next.js apps that use the App router.