Proxying GraphQL Requests to API Route Handlers in Catalyst/Next.js
Next.js API Route Handlers let you create backend endpoints which you can use to proxy client requests to the backend so that you can protect your private environment variables. Instead of exposing sensitive credentials on the client side, the client calls your route, which makes the request with the credentials stored on the backend.
In this blog, we’re going to show you how we built an API Route Handler in Catalyst to proxy requests from client-side Makeswift components. You’ll see how you can fetch dynamic backend data from BigCommerce when building your own components in Makeswift.
We’ll start by building a backend endpoint that returns product data from BigCommerce through the GraphQL Storefront API. We’ll then work on incorporating the data into a Makeswift component to be rendered.
And don’t forget – Makeswift components can take user input. You’ll see how user input can determine which product data is fetched in Makeswift and how it then gets proxied to BigCommerce.
Here’s a sneak peak of the proxy in action:
Prerequisites
Follow the Getting Started with Catalyst documentation to create your Catalyst storefront using One-Click Catalyst. To follow along, choose the option to use sample catalog data. Then, follow the Local Development documentation to pull down the code and run locally.
Create an API Route handler
We’re going to create an API route handler that requests product data from BigCommerce.
In the App Router, each route corresponds to a folder in the /app directory. Start by creating the following file directory which corresponds to a /api/product route. Next.js reserves the route.ts filename for route handlers.
GET request. Add the following inside the route.ts file so that the route returns sample product data when called.
/api/product path in the browser (on the port where your server is listening). You should see Next.js return JSON data from the endpoint. 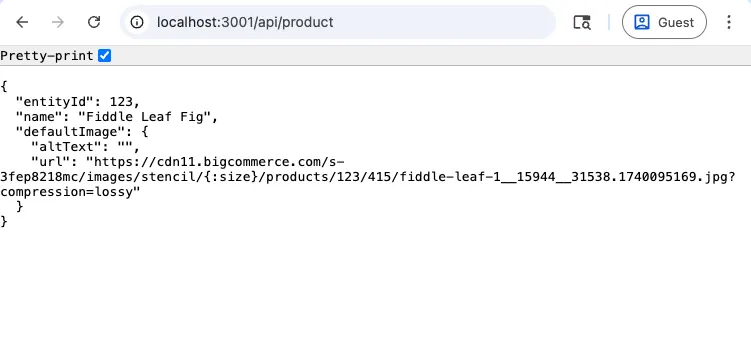
Fetch product-specific data
To make the route return product-specific data, we can use a dynamic route segment to represent a parameter for the product ID. The dynamic segment captures the slug as a parameter, which we can use to access content for a particular sample.
Update your file structure to include the dynamic segment:
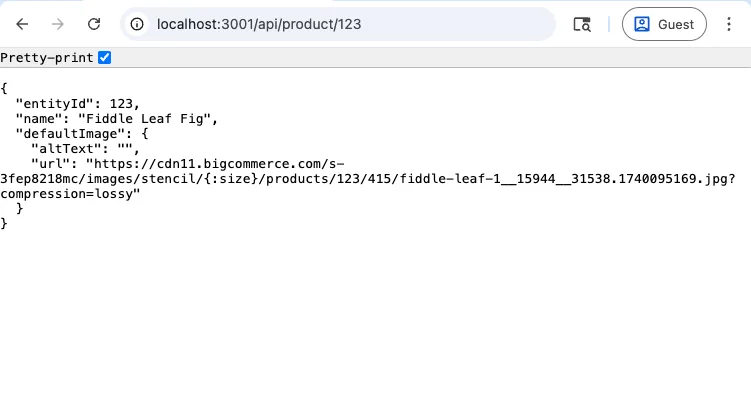
route.ts file so that the handler accepts the `params` prop. API route handlers accept the request object as the first parameter, so we’ve added it also.
/api/product/123 and /api/product/124 path in the browser. At the moment, you should see the same product data returned, but with an entityID based on the path you entered.
Next, we want the data to actually come from BigCommerce. We’re going to fetch the data from the GraphQL Storefront API using the Catalyst Client.
Let’s update the route.ts file to include the fetch call. In our case, we want to query the product name and image. The entityID from the slug parameter gets passed to the call to fetch product-specific data.
/api/product/123 and /api/product/124 paths in the browser, those corresponding products are returned from the store.
Create the Makeswift Component
We’re going to create a product card component in Makeswift that fetches product data through the API route handler.
To start, update your file directory to include a my-product-card/client.tsx file inside the lib/makeswift/components folder that comes with your OCC Catalyst app.
my-product-card/client.tsx file:
register.ts for your product card.
To do this, copy the following line into the `core/lib/makeswift/components.ts` file which comes with your OCC Catalyst app when you install it.
Proxy the request to the API Route Handler
Now it’s time to actually make a call to BigCommerce using the API Route Handler. Update your Makeswift component code to include a fetch call to the route we created. In the following code, don’t forget to use the actual product IDs for your catalog when you make the fetch call.
Next, we want you to be able to choose which product to render in Makeswift.
First, adjust the client.tsx file so that the component receives the `entityId` prop. This prop should receive the entity ID for the product you choose in Makeswift.
entityId prop to the component from the register.ts file.
We’re going to use the ComboBox control to define the prop so that the products display as a list of options. The searchProducts utility function is already defined for you and fetches options to choose from when typing in the combobox.
Fetch localized product data
The product component can fetch localized product data from BigCommerce. To follow along, you can translate the product data to French (fr locale) in your BigCommerce store.
Update your API Route Handler file so that it accepts a `locale` search parameter, validates the locale that it receives, and passes it to BigCommerce when fetching product data.
client.tsx file so that the Makeswift component calls your route with the locale fetched from `next-intl`.
Learn more about translating dynamic data from BigCommerce.
What’s next?
Note that the Makeswift Product Card component that’s available out of the box in your OCC Catalyst app has several more features.
It uses the VIBES Product Card component for responsive design and includes a fallback skeleton for loading or empty content.
It renders other product data like the price. Quick tip! If you want your product card to include more data like the brand and prices, you’ll need to update the GraphQL query in your API Router Handler to fetch the data. You can test the GraphQL query in the GraphQL Playground before using it in the code. If you want to return data that requires customer authentication, like pricing based on customer groups, you’ll want to pass the customer access token as a parameter when you make a call with the Catalyst Client.
It receives other user input from Makeswift.
Check out the Makeswift docs for more info on the controls that the finished Product Card component uses.